Embed Size (px)
Citation preview

How to replace the ignition coil onNISSAN QASHQAI I J10
VIDEO TUTORIAL
This replacement procedure can be used for:NISSAN MICRA C+C III (K12) 1.6 160 SR, NISSAN MICRA III (K12) 160 SR, NISSANNOTE (E11, NE11) 1.6, NISSAN NV200 / EVALIA Bus 1.6 16V (M20, M20M),NISSAN NV200 Box Body / Estate 1.6 16V (M20, M20M), NISSAN QASHQAI /QASHQAI +2 I (J10, NJ10, JJ10E) 1.6, NISSAN TIIDA Hatchback (C11) 1.6, NISSANTIIDA Saloon (SC11) 1.6
The steps may slightly vary depending on the car design.
WWW.AUTODOC.CO.UK 1–25
Important!
REQUIRED TOOLS:
WWW.AUTODOC.CO.UK 2–25
Torque wrench
Drive socket # 8
Drive socket # 10
Electronic spray
Round-nose pliers
Ratchet wrench
Flat screwdriver
Fender cover
Microfibre towel
AUTODOC recommends:
CARRY OUT REPLACEMENT IN THE FOLLOWING ORDER:
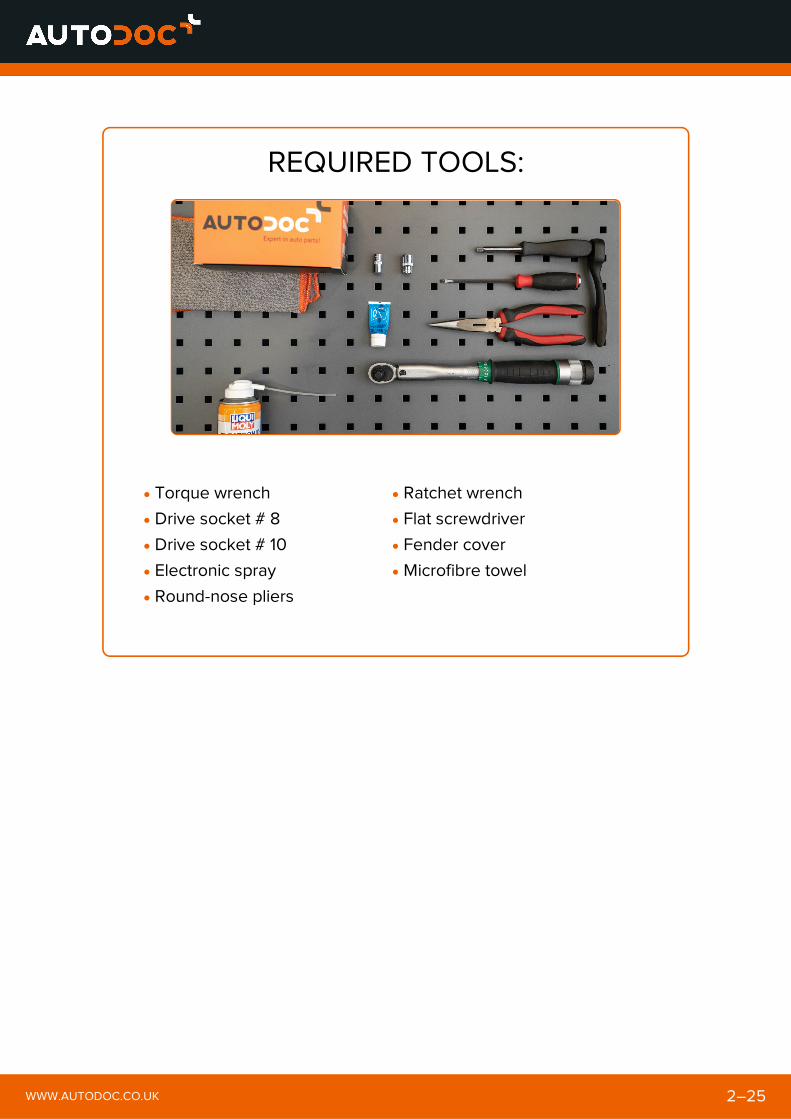
1
Open the hood.
WWW.AUTODOC.CO.UK 3–25
The replacement procedure is the same for the ignition coils of allcylinders.
All work should be done with the engine stopped.
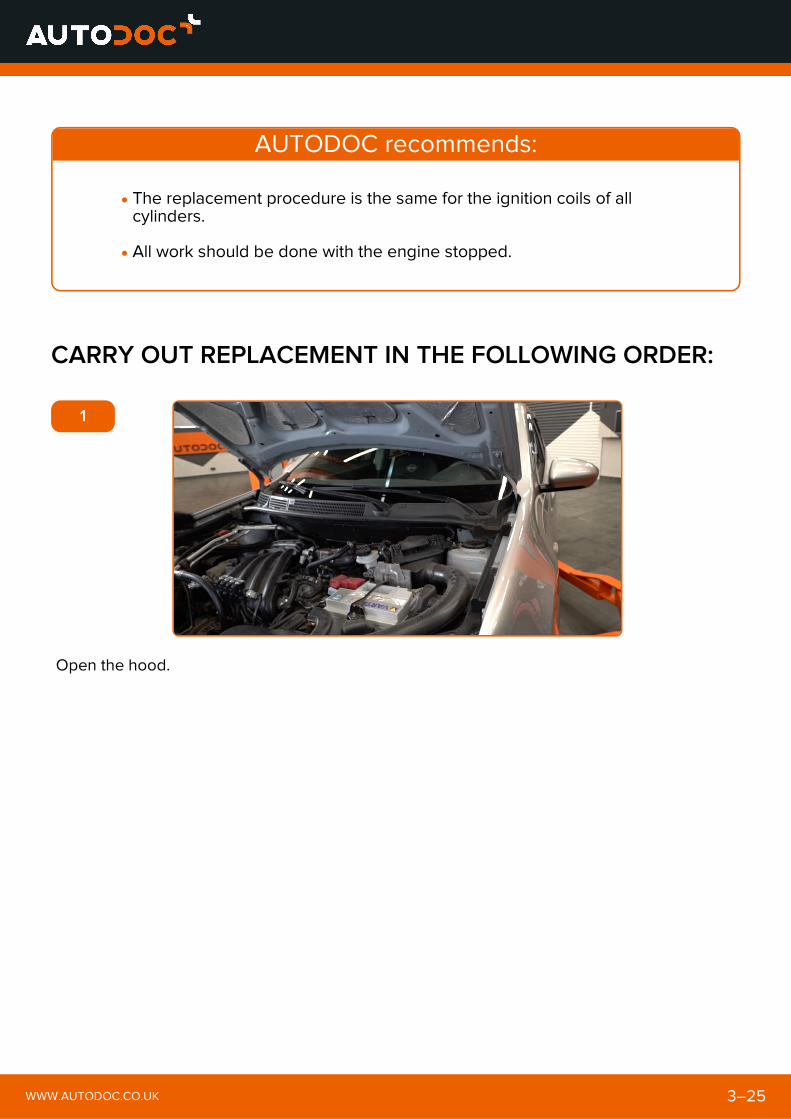
2
Use a fender protection cover to prevent damaging paintwork and plastic parts of the car.
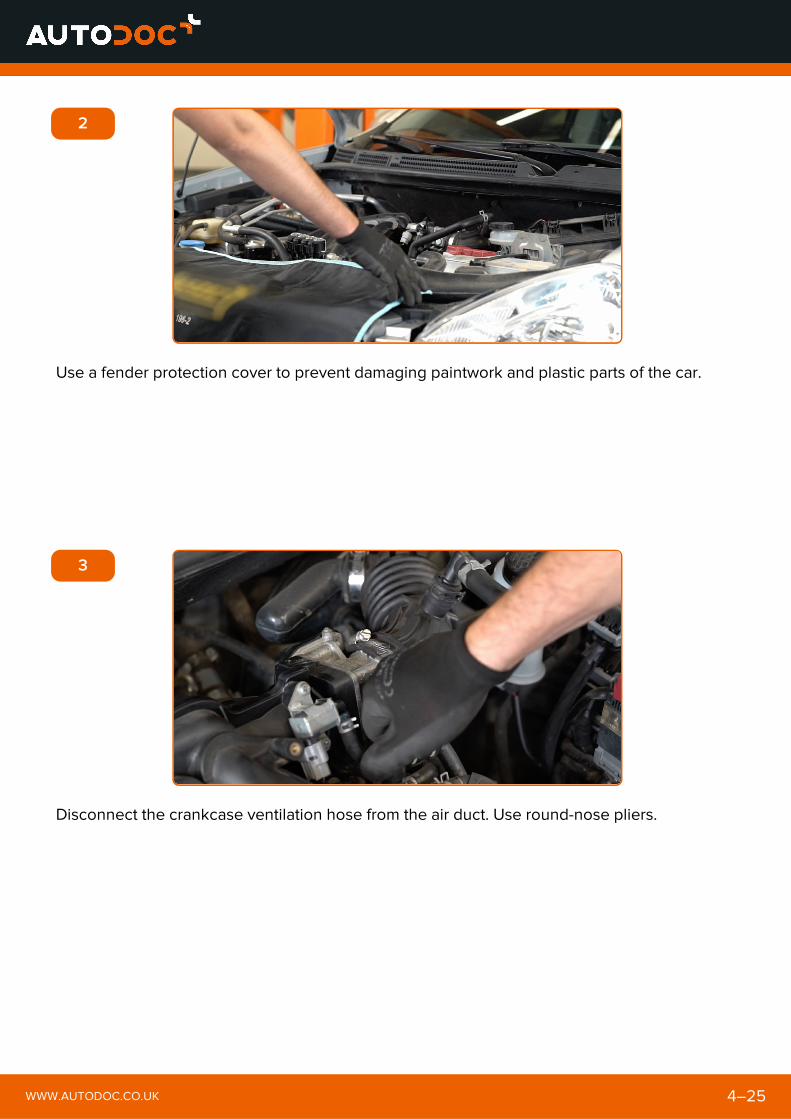
3
Disconnect the crankcase ventilation hose from the air duct. Use round-nose pliers.
WWW.AUTODOC.CO.UK 4–25

4
Unscrew the clamps and fasteners on the air filter intake pipe. Use a drive socket #10. Use a
ratchet wrench.
5
Disconnect the air intake pipe from the air filter housing.
WWW.AUTODOC.CO.UK 5–25
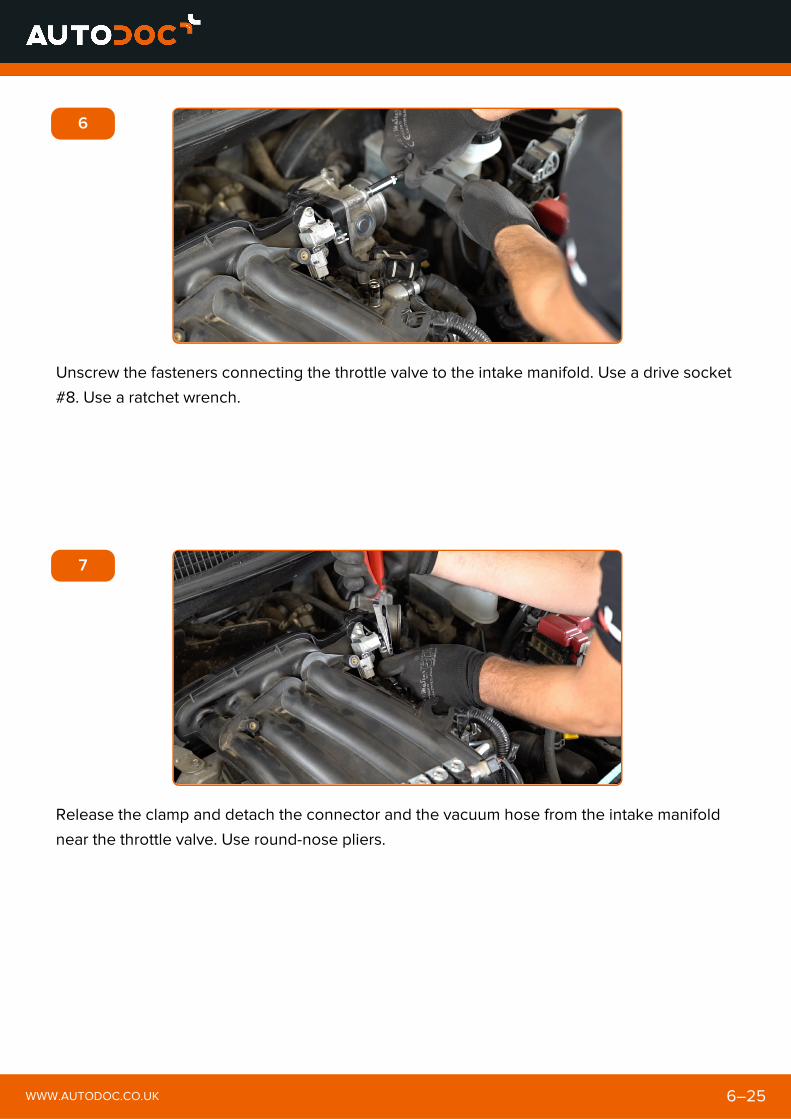
6
Unscrew the fasteners connecting the throttle valve to the intake manifold. Use a drive socket
#8. Use a ratchet wrench.
7
Release the clamp and detach the connector and the vacuum hose from the intake manifold
near the throttle valve. Use round-nose pliers.
WWW.AUTODOC.CO.UK 6–25
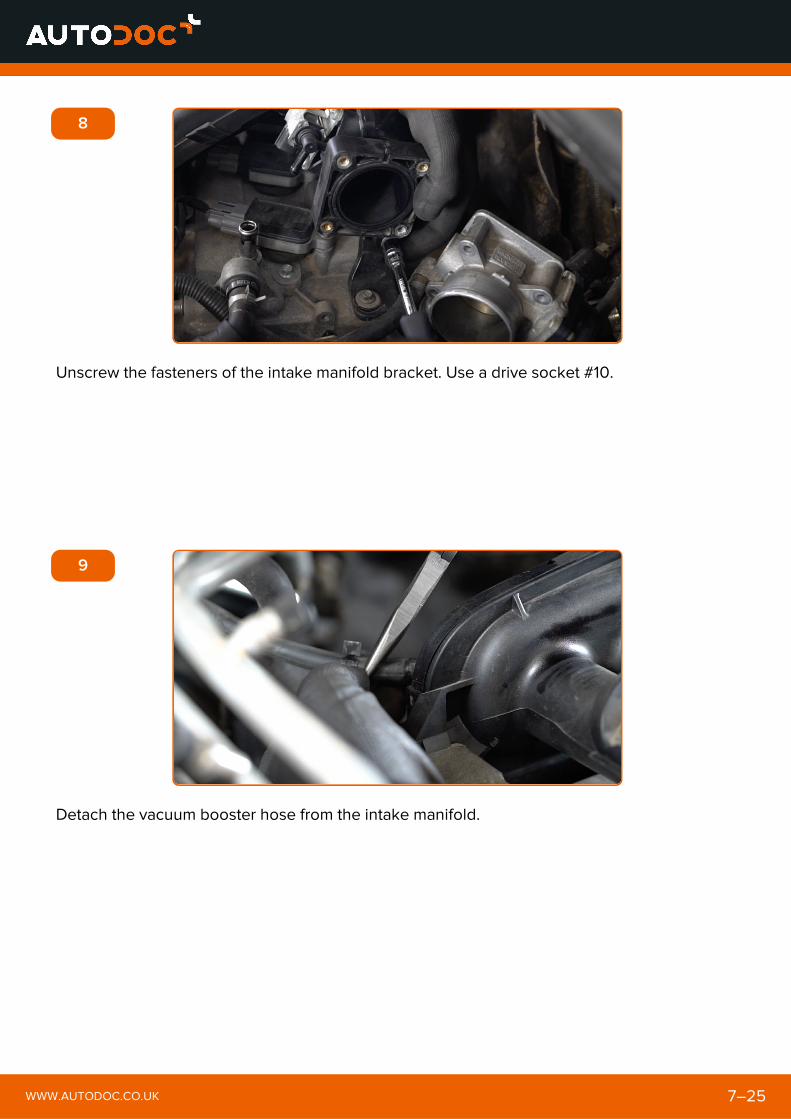
8
Unscrew the fasteners of the intake manifold bracket. Use a drive socket #10.
9
Detach the vacuum booster hose from the intake manifold.
WWW.AUTODOC.CO.UK 7–25
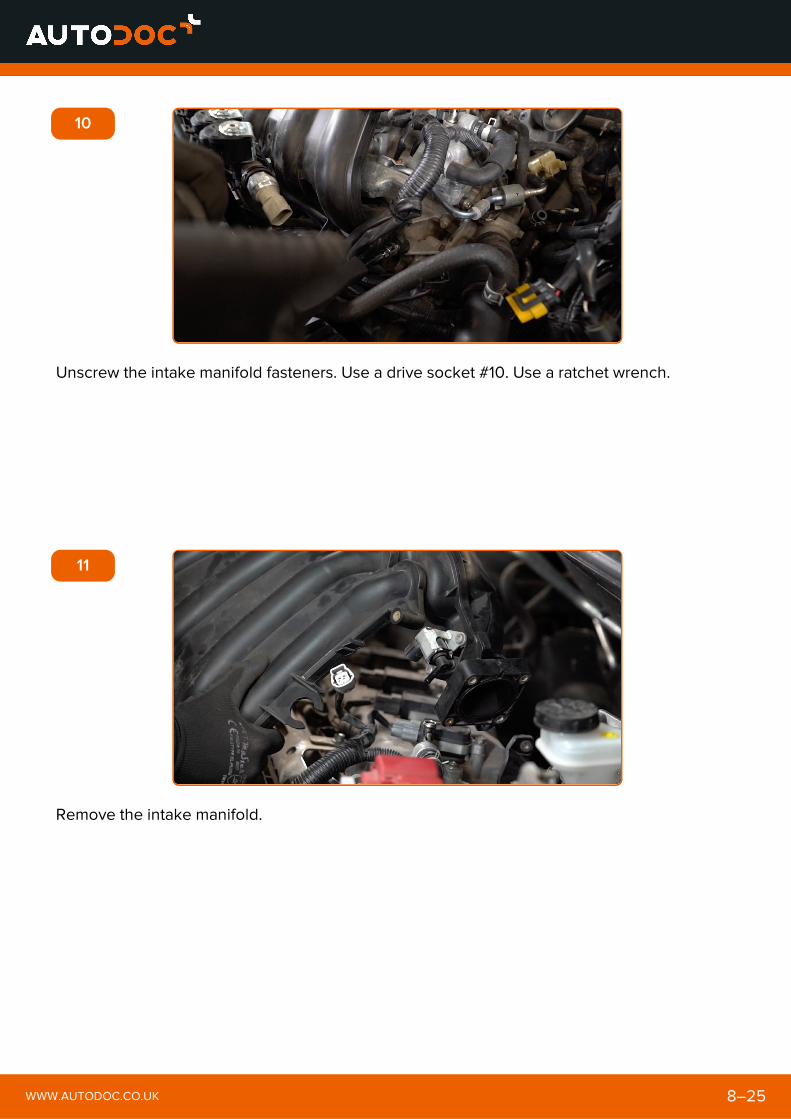
10
Unscrew the intake manifold fasteners. Use a drive socket #10. Use a ratchet wrench.
11
Remove the intake manifold.
WWW.AUTODOC.CO.UK 8–25
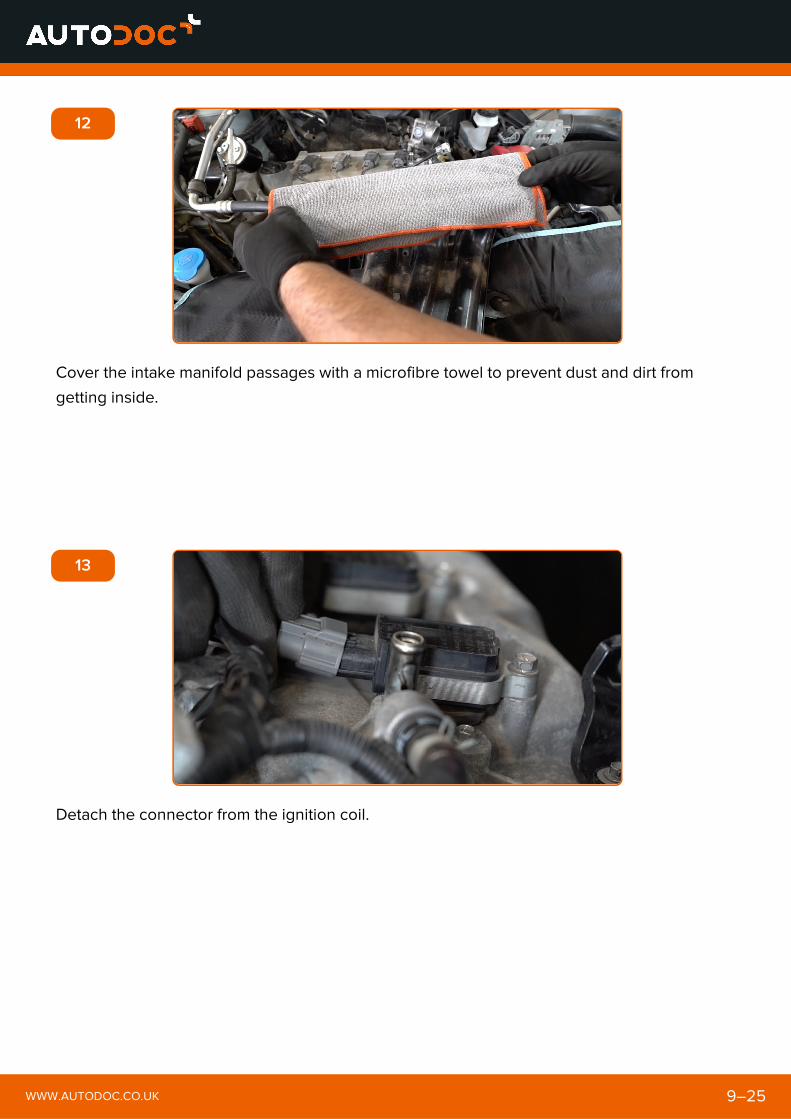
12
Cover the intake manifold passages with a microfibre towel to prevent dust and dirt from
getting inside.
13
Detach the connector from the ignition coil.
WWW.AUTODOC.CO.UK 9–25
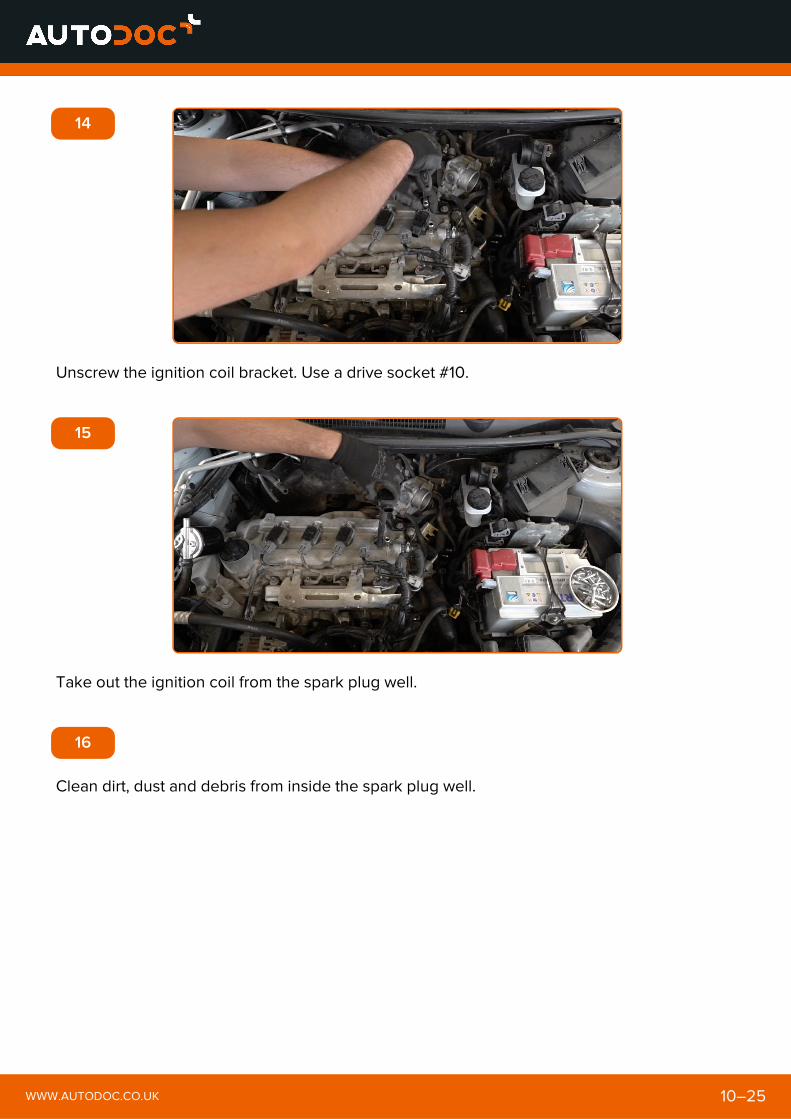
14
Unscrew the ignition coil bracket. Use a drive socket #10.
15
Take out the ignition coil from the spark plug well.
16
Clean dirt, dust and debris from inside the spark plug well.
WWW.AUTODOC.CO.UK 10–25
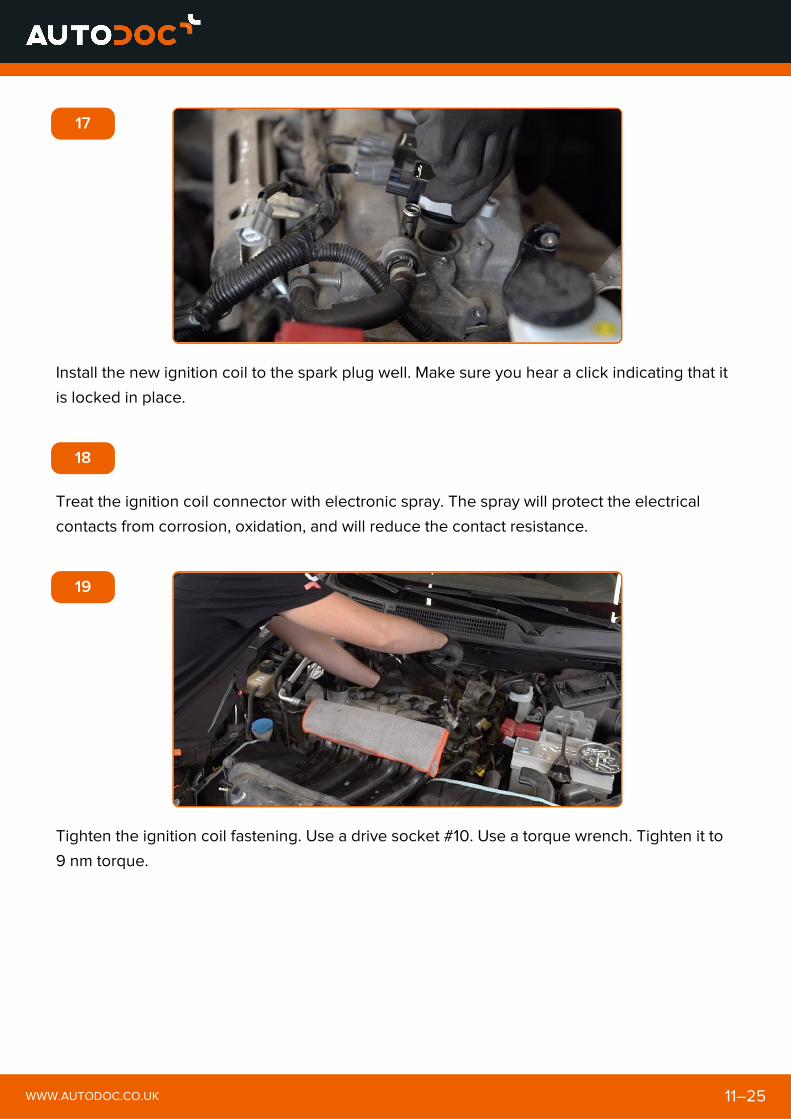
17
Install the new ignition coil to the spark plug well. Make sure you hear a click indicating that it
is locked in place.
18
Treat the ignition coil connector with electronic spray. The spray will protect the electrical
contacts from corrosion, oxidation, and will reduce the contact resistance.
19
Tighten the ignition coil fastening. Use a drive socket #10. Use a torque wrench. Tighten it to
9 nm torque.
WWW.AUTODOC.CO.UK 11–25
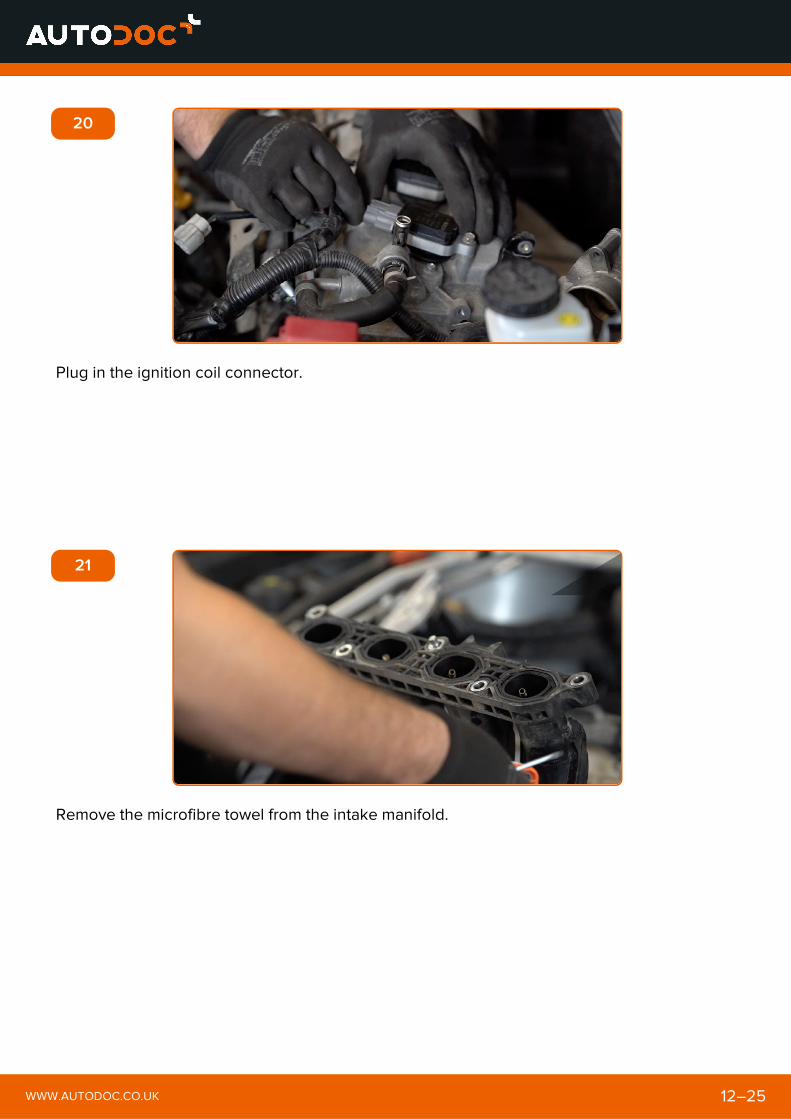
20
Plug in the ignition coil connector.
21
Remove the microfibre towel from the intake manifold.
WWW.AUTODOC.CO.UK 12–25
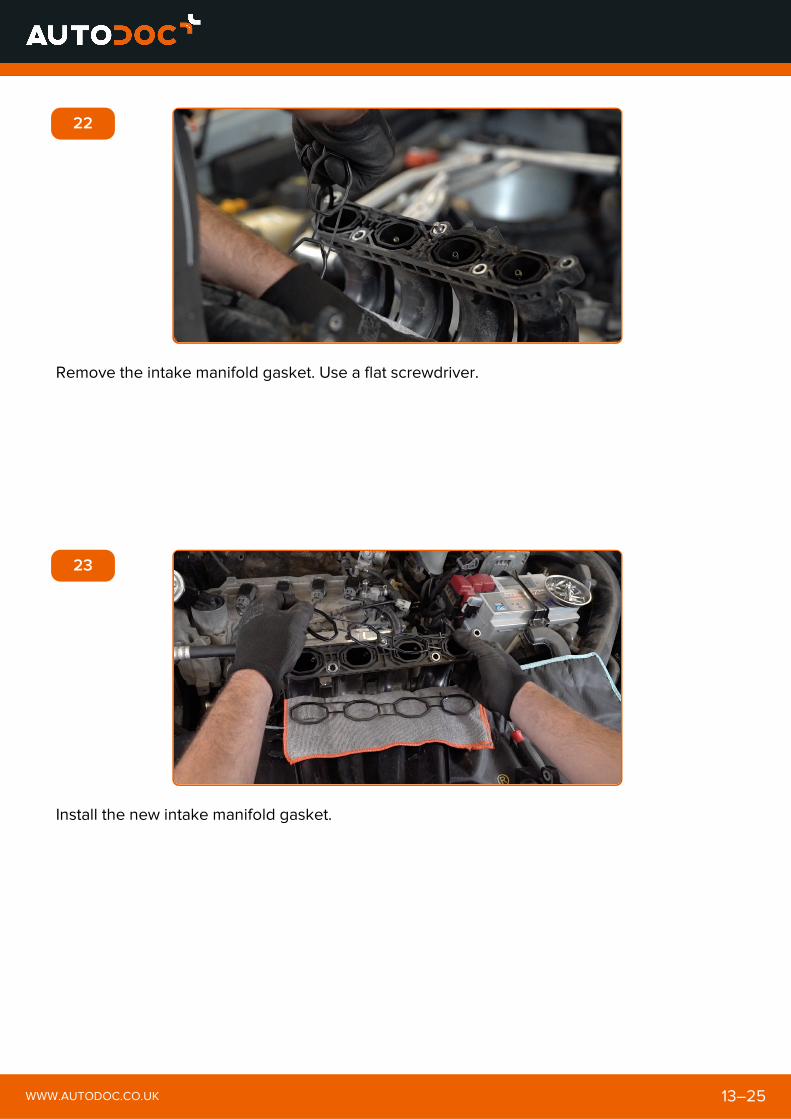
22
Remove the intake manifold gasket. Use a flat screwdriver.
23
Install the new intake manifold gasket.
WWW.AUTODOC.CO.UK 13–25
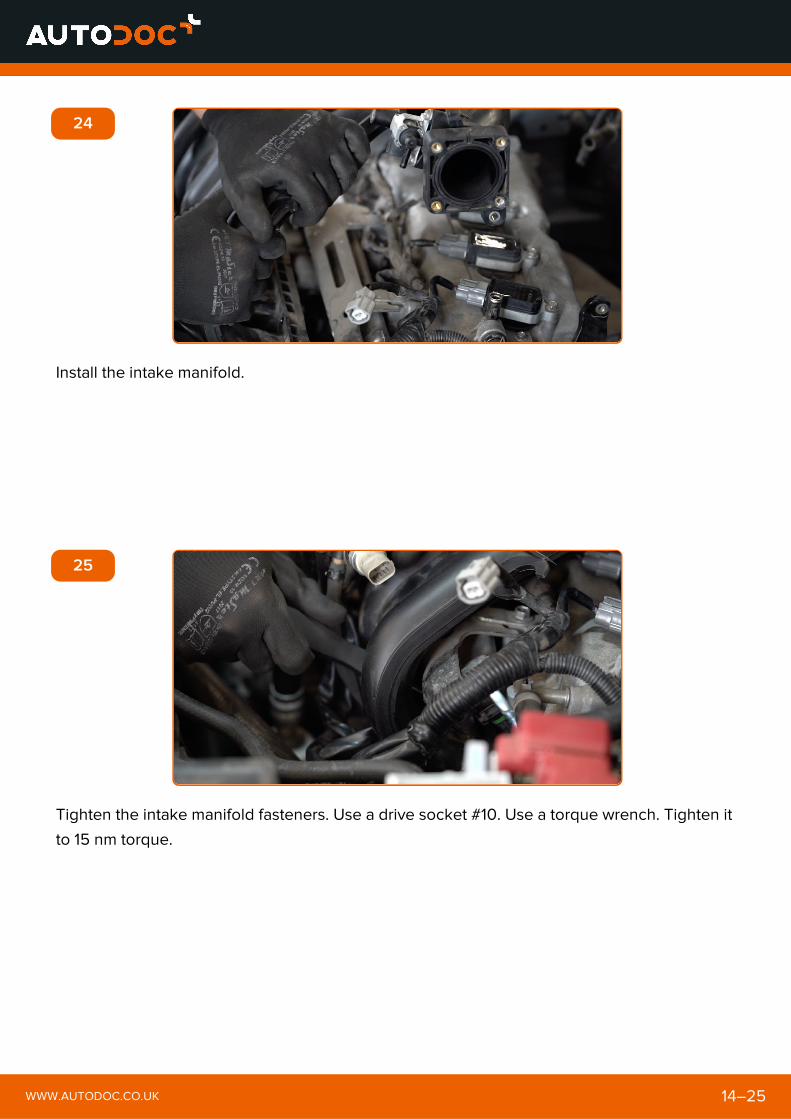
24
Install the intake manifold.
25
Tighten the intake manifold fasteners. Use a drive socket #10. Use a torque wrench. Tighten it
to 15 nm torque.
WWW.AUTODOC.CO.UK 14–25
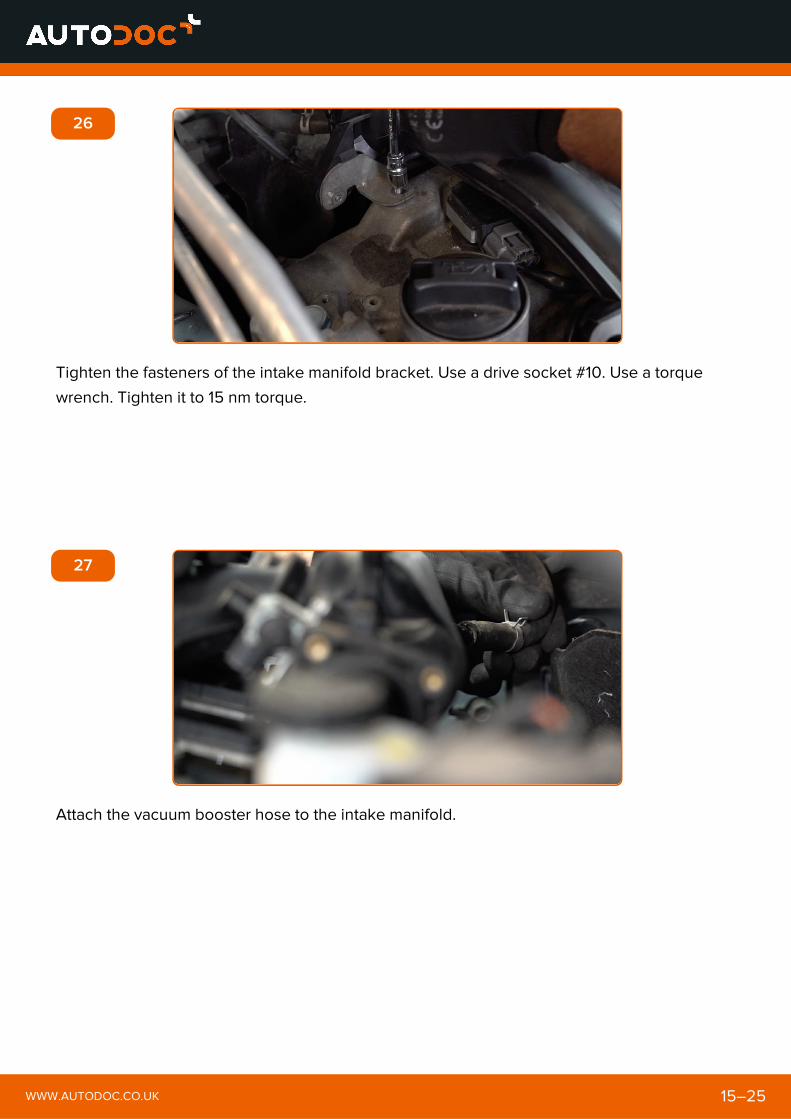
26
Tighten the fasteners of the intake manifold bracket. Use a drive socket #10. Use a torque
wrench. Tighten it to 15 nm torque.
27
Attach the vacuum booster hose to the intake manifold.
WWW.AUTODOC.CO.UK 15–25
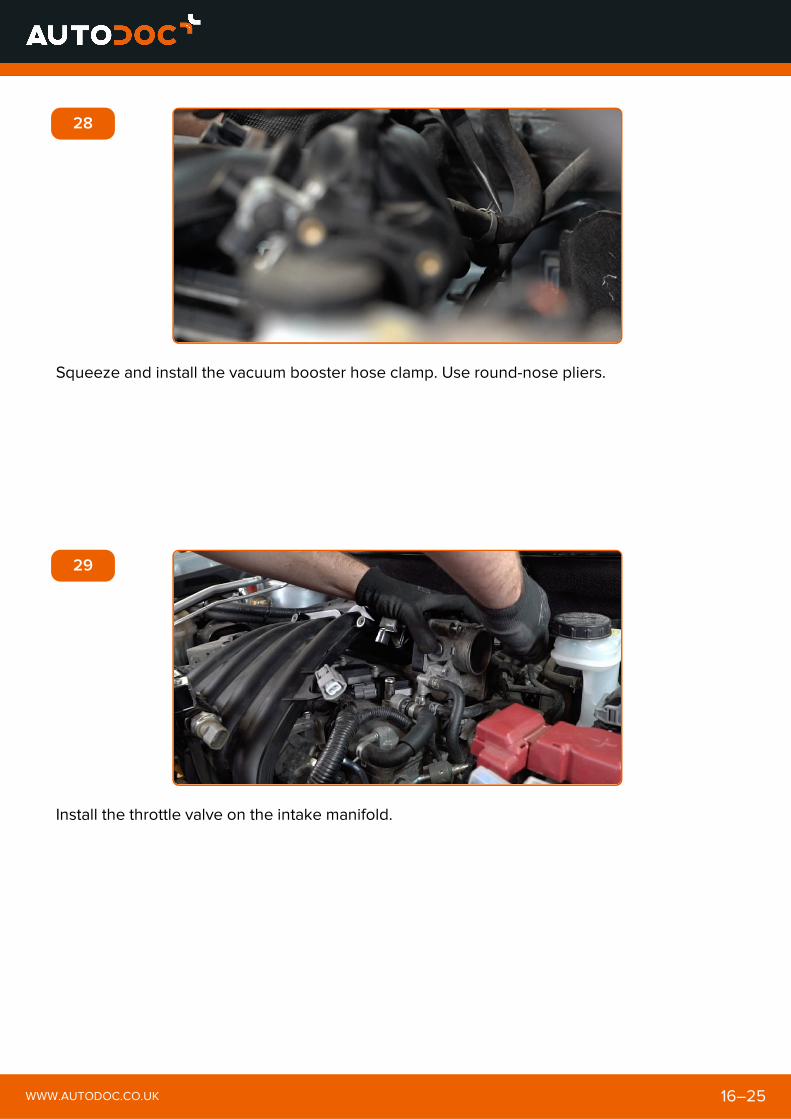
28
Squeeze and install the vacuum booster hose clamp. Use round-nose pliers.
29
Install the throttle valve on the intake manifold.
WWW.AUTODOC.CO.UK 16–25
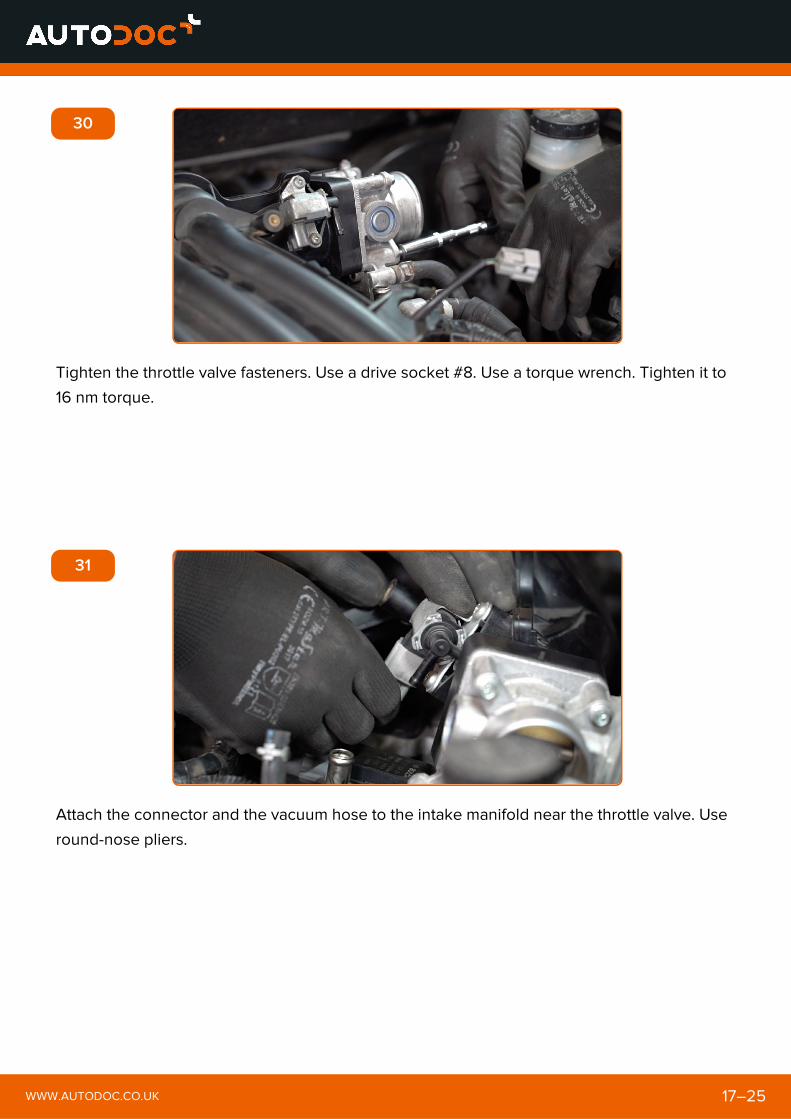
30
Tighten the throttle valve fasteners. Use a drive socket #8. Use a torque wrench. Tighten it to
16 nm torque.
31
Attach the connector and the vacuum hose to the intake manifold near the throttle valve. Use
round-nose pliers.
WWW.AUTODOC.CO.UK 17–25
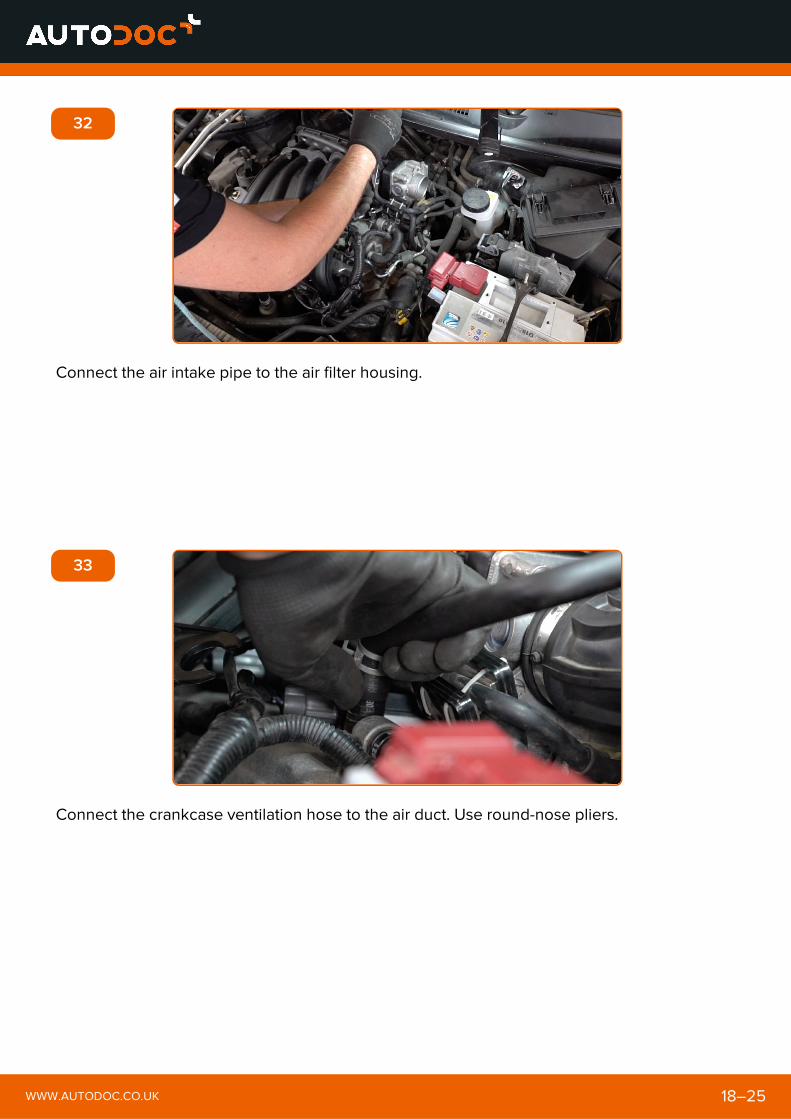
32
Connect the air intake pipe to the air filter housing.
33
Connect the crankcase ventilation hose to the air duct. Use round-nose pliers.
WWW.AUTODOC.CO.UK 18–25
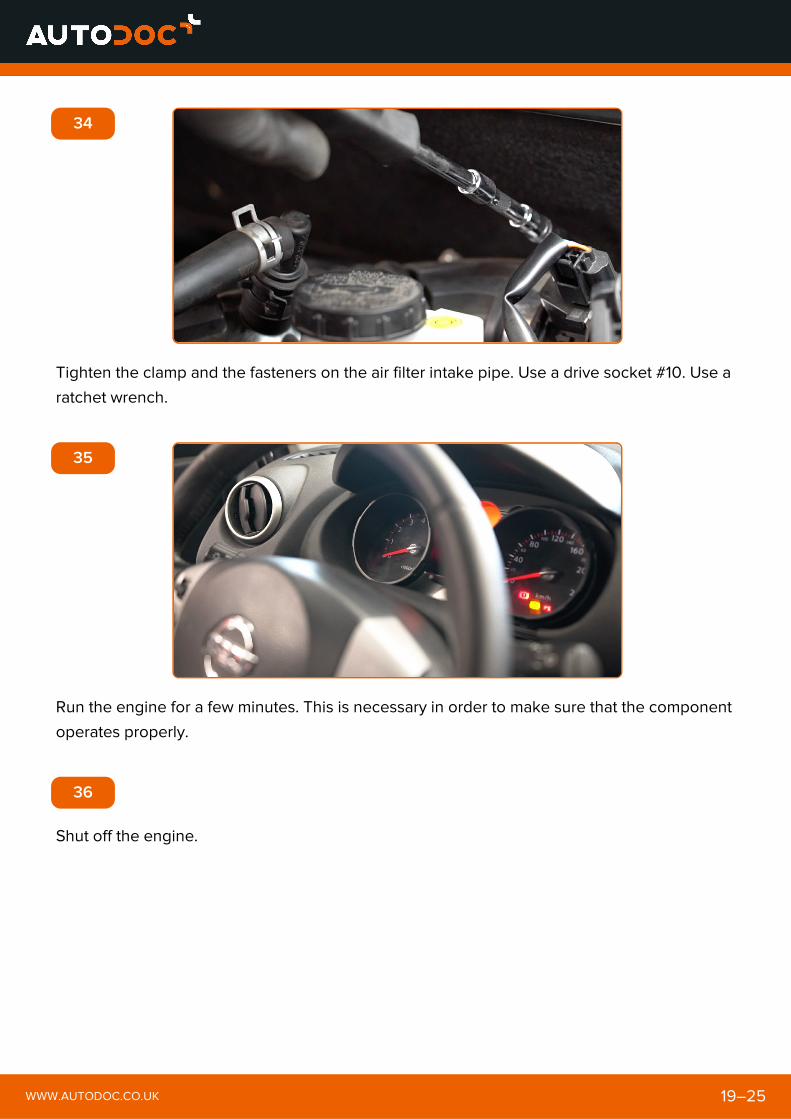
34
Tighten the clamp and the fasteners on the air filter intake pipe. Use a drive socket #10. Use a
ratchet wrench.
35
Run the engine for a few minutes. This is necessary in order to make sure that the component
operates properly.
36
Shut off the engine.
WWW.AUTODOC.CO.UK 19–25
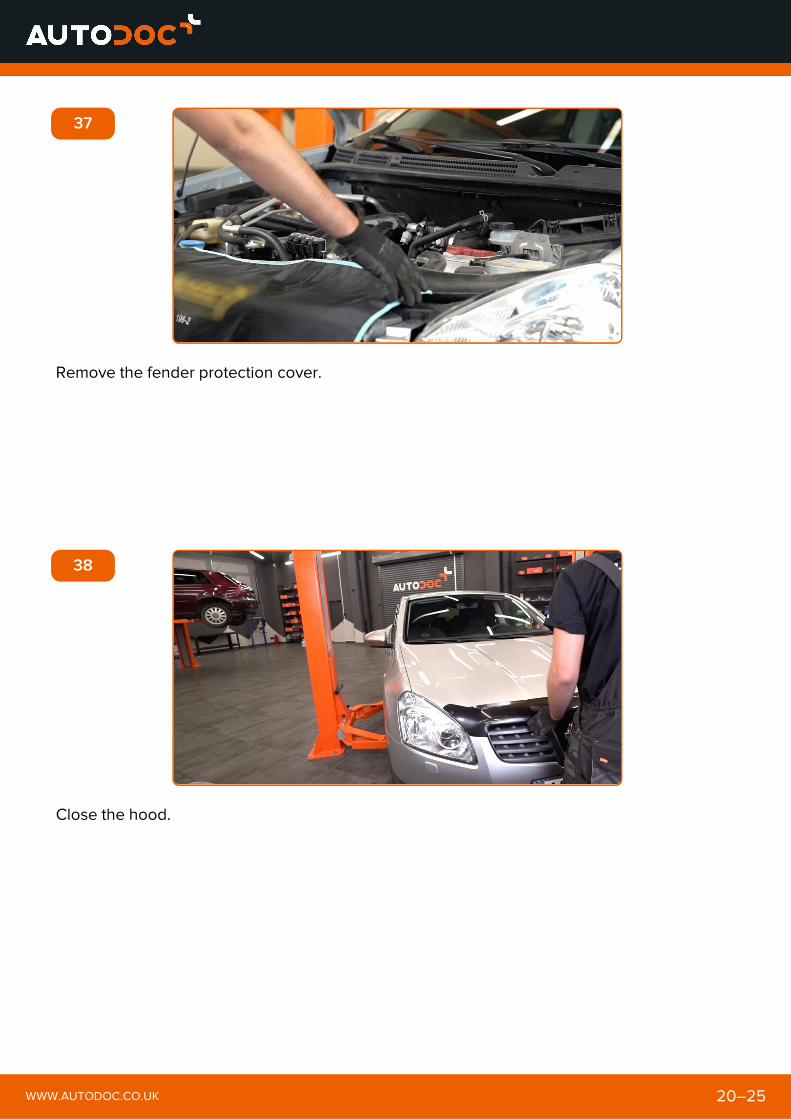
37
Remove the fender protection cover.
38
Close the hood.
WWW.AUTODOC.CO.UK 20–25

DID YOU FIND THESE INSTRUCTIONSHELPFUL?
YES NO
BECOME A MEMBER OF AUTODOC CLUB!
WWW.AUTODOC.CO.UK 21–25

AUTODOC — TOP QUALITY AND AFFORDABLE CARPARTS ONLINE
AUTODOC MOBILE APP: GREAT DEALS AND CONVENIENTSHOPPING
A GREAT SELECTION OF SPARE PARTS FOR YOUR CAR
WWW.AUTODOC.CO.UK 22–25
BUY SPARE PARTS FOR NISSAN
IGNITION COILS: A WIDE SELECTION
WWW.AUTODOC.CO.UK 23–25
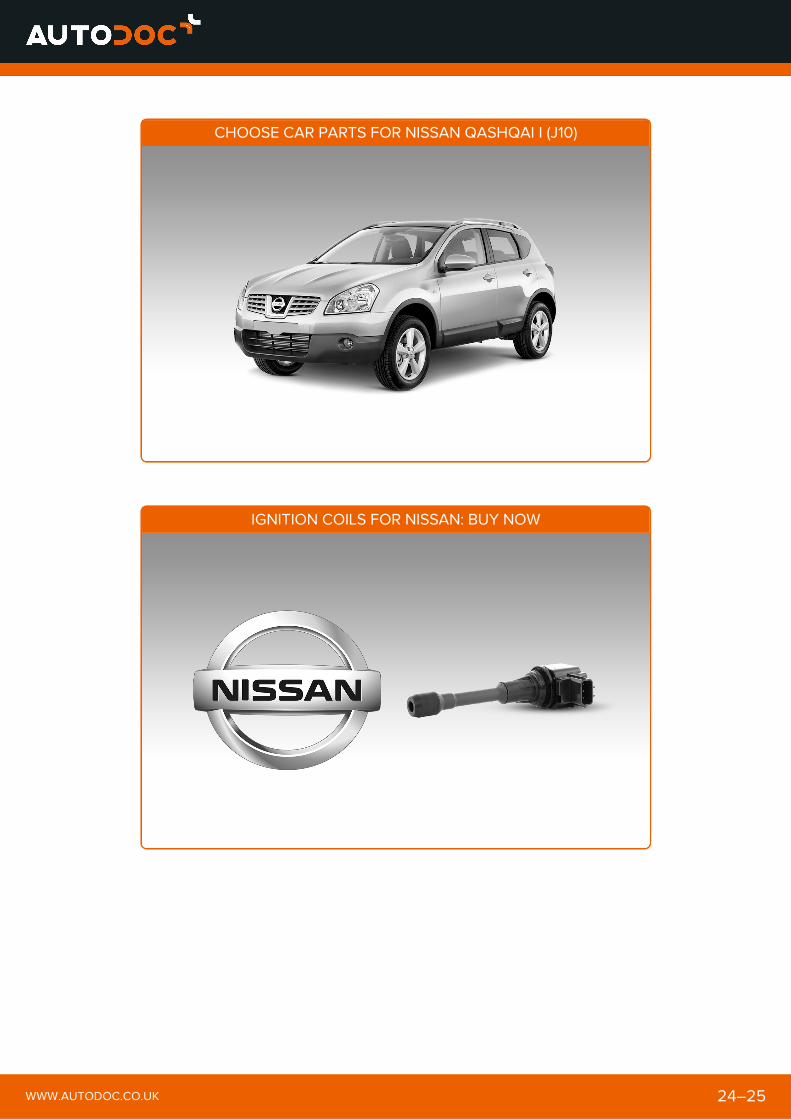
CHOOSE CAR PARTS FOR NISSAN QASHQAI I (J10)
IGNITION COILS FOR NISSAN: BUY NOW
WWW.AUTODOC.CO.UK 24–25

IGNITION COILS FOR NISSAN QASHQAI I (J10): THE BEST DEALS &OFFERS
The document contains only general recommendations that may be useful for you when you perform repair or replacement work. AutoDocshall not be liable for any loss, injury, damage of property occurring in the repair or replacement process due to incorrect use ormisinterpretation of the provided information.
AutoDoc shall not be liable for any possible mistakes and uncertainties in this guide. The information provided is for information purposesonly and cannot replace advice from specialists.
AutoDoc shall not be liable for incorrect or hazardous usage of equipment, tools and car parts. AutoDoc strongly recommends to be carefuland observe the safety rules when performing repair or replacement works. Remember: usage of low quality auto parts does not guaranteeyou the appropriate level of road safety.
© Copyright 2018 – All the contents of this website, in particular texts, photographs and graphics, are protected by copyright. All rights,including reproduction, publication, editing and translation rights, are reserved by Autodoc GmbH.
WWW.AUTODOC.CO.UK 25–25
Disclaimer: